WordPress website
WordPress is a widely used CMS that can be installed in different ways depending on the hosting provider, content manager, or webmaster. We recommend a simple, highly compatible installation method that works for most WordPress setups, ensuring the Intelibly Book Now Button appears on all pages of your website. Please consult with your webmaster for any additional clarifications.
Adding a custom plugin for your WordPress (Optional)
The following steps are optional but have been found to work in most cases. You may already be using a WordPress plugin or a theme that supports adding custom JS or CSS to your website. Please consult with your webmaster if the following plugin is necessary.
1. Log into your WordPress administration dashboard.
This is commonly found by visiting www.yourwebsiteurl.com/wp-admin. Contact your webmaster to get access to the website administration dashboard.
2. Locate the plugins tab in the left-side menu

3. Add new plugin
At the top of the page, select "Add New"

4. Search for a plugin
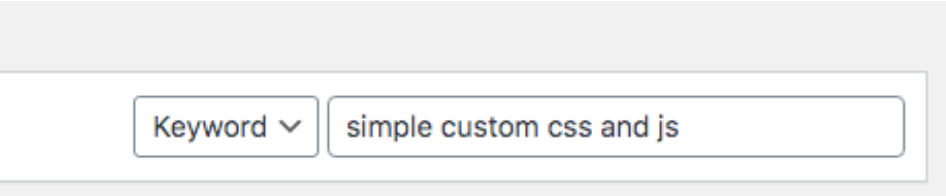
On the right hand side of the page, toward the top, there is a search bar. Search simple custom css and js.
5. Select a compatible plugin
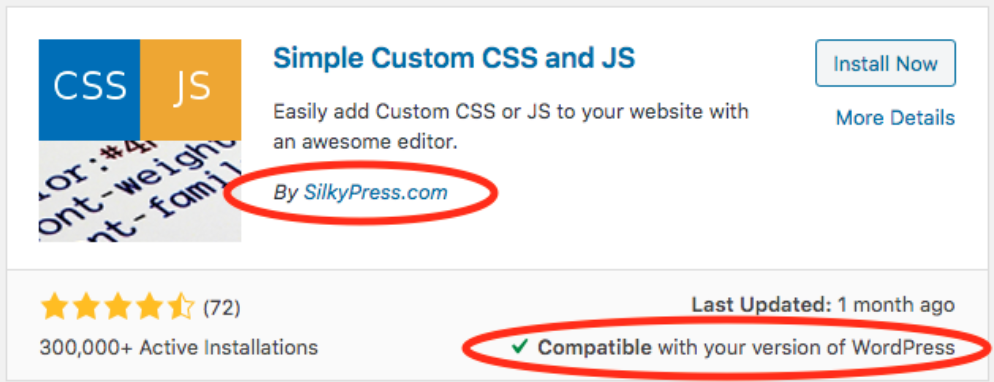
The following plugin created by SilkyPress.com could be used. Be sure that the plugin is marked as Compatible with your version of WordPress. You may choose to use a different plugin that performs a similar function and is compatible with your version of WordPress.
6. Install and activate the plugin
Adding scheduleCONNECT website widget code to the site
While still logged into your website via WP-Admin.
If you did not use the above plugin, instead, locate the plugin or theme section where custom CSS or JS can be added and skip to step 3
1. Find the Custom CSS & JS menu item.

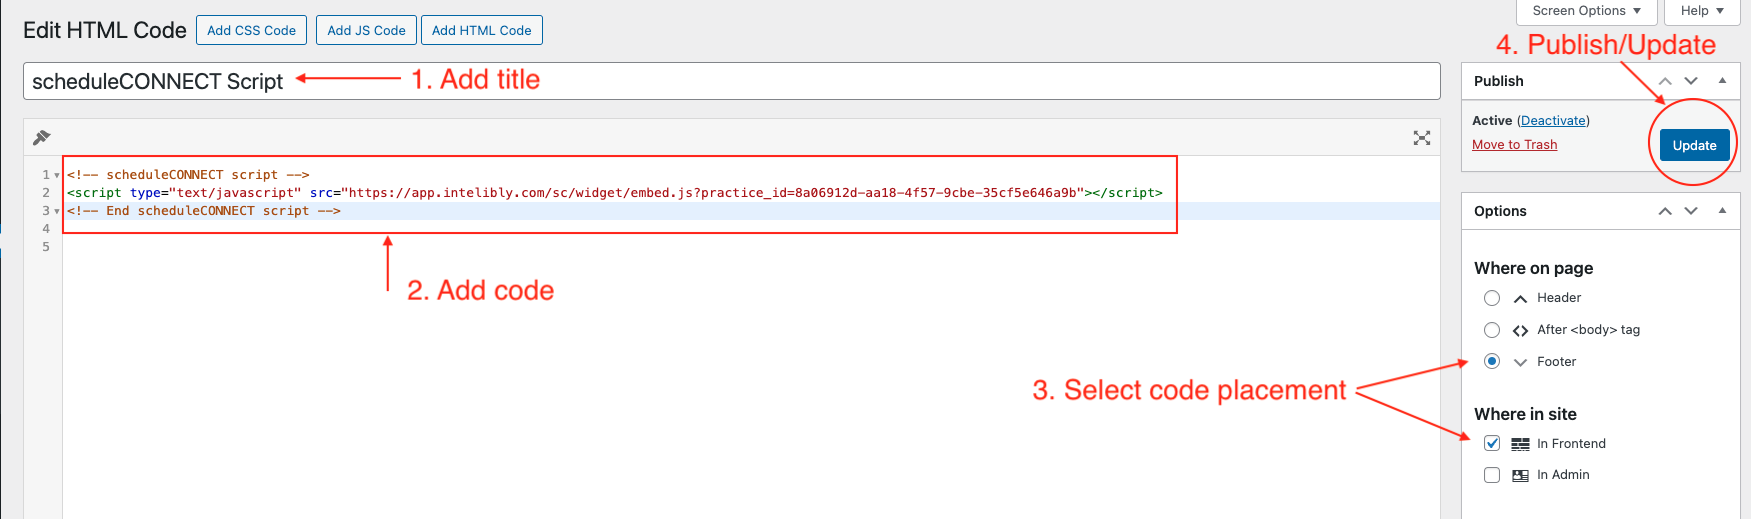
2. Select Add HTML Code at the top of the page.

3. Add the following scheduleCONNECT code.
The script will not work with WordPress caching plugins i.e., WP Rocket. Please consult with your webmaster to ensure the script is being added without caching.
If you used the above mentioned plugin follow the steps in the screenshot.
The basic installation is now complete. Please check your website and locate the newly added Book Now Button floating at the bottom of the screen. If the button does not appear, View Source of the page and verify that the above code can be found. Verify that a valid practice_id is included in the script src url.
Customizing Book Now Button
Intelibly Book Now Button allows customization of text, colors, and position of the floating button. Please visit Intelibly Practice Dashboard page to customize your widget button.
Using your own button for the widget
Intelibly Book Now Button can be connected with existing buttons on your website. Please follow Custom widget button instructions page.